Midjourney AI Beginner's Explanation

Midjourney went online in July 2022 and David Holz founded it. He had previously created Leap Motion and wanted to build something with Midjourney that would allow everyone to create visual ideas without technical knowledge. Midjourney grew into the market leader for unique AI images. You use it via midjourney.com where you type what you want and receive four versions within a minute. It works particularly well for artistic images and conceptual designs. Designers use it for inspiration, marketers for eye-catching content. The power lies in how well you understand the styles and create unique prompts. Text in images and exact details don’t always work perfectly because Midjourney isn’t that advanced yet.

What is Midjourney?

Midjourney is an AI tool that creates images based on text. You type what you want to see and the AI generates a picture for you without you having to draw yourself. Within a minute you get several versions that you can use for marketing, presentations or creative projects. It works well for mood images and designs where the tool understands colors, atmospheres and styles. Designers use it to quickly review options and marketers create eye-catching content with it for social media. You get results that would otherwise take hours of work. The power lies in how you formulate your prompts and which settings you add. The system recognizes artistic styles such as art deco or cyberpunk well and translates them into unique images. Text and exact details such as fingers still often go wrong, but with the right approach you get images that match your idea. Experimenting with different descriptions helps you discover what does and doesn’t work. This way you get to know the tool better and better and get more out of it.

Writing your first Midjourney prompt

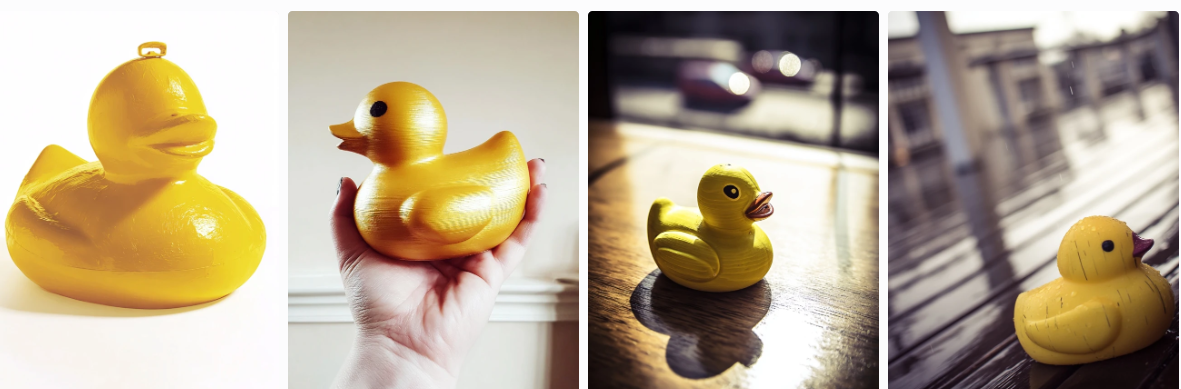
A prompt is the text you write to tell Midjourney what you want to see. Start simple. Suppose you want an image of rubber ducks. You just type “rubber ducks” and see what happens. With the basic settings you get four variations that look fairly similar to each other. Four yellow rubber ducks, all pretty much the same. But what if you want something different?
This is where it gets interesting. You add details that give the image direction. Think of mood, style, colors or context. Try, for example: “rubber ducks floating in a cyberpunk neon pool”. Suddenly you get ducks with a futuristic glow, maybe reflections of purple and blue lights, a totally different vibe.
Or you go a different direction: “vintage rubber duck, 1950s advertisement style, pastel colors”. Now you’ll probably see ducks that look like they came from an old advertisement, with soft colors and a nostalgic feel.
The trick lies in specificity. The more precise you are, the better Midjourney understands what you want. You can play with:

  • Materials: glass ducks, wooden ducks, metal ducks
  • Environment: floating in milk, on a mountain peak, in space
  • Artistic style: watercolor, 3D render, technical drawing, art deco
  • Lighting: dramatic backlighting, soft morning light, neon lighting
  • Perspective: close-up, bird’s-eye view, macro photography

You don’t have to use everything at once. Start with one or two extra elements and see how Midjourney responds. Sometimes you get exactly what you had in mind, sometimes it surprises you with something you didn’t expect but do think is cool.
Note: the more complex your prompt becomes, the more Midjourney has to interpret. Sometimes less is actually more. If your prompt becomes too cluttered with conflicting instructions, the AI gets confused and you get unclear results.
Experimenting is the best way to learn what works for your vision.

Settings that make the difference

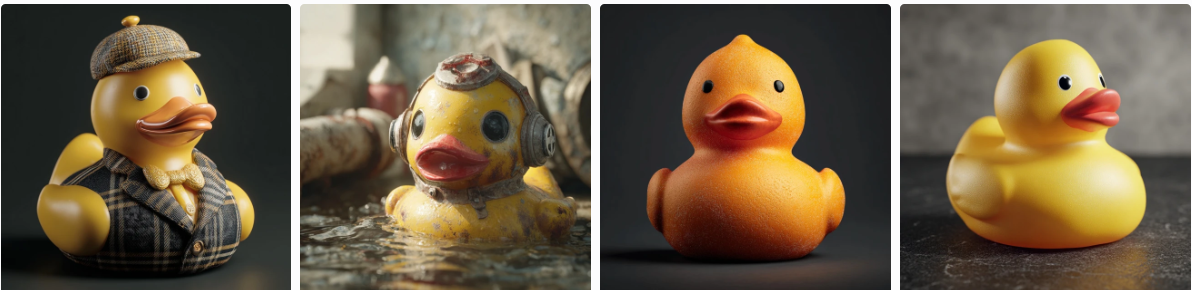
Now it gets interesting. By adjusting the settings, you completely change what you get. Let’s generate the same ducks again, but now with different settings.

I’ll adjust the following: Image size to 3:4 (portrait format), stylization to 1000, weirdness to 1500, variety to 50, mode to raw, version 7.

Look at the difference! The four ducks are now completely different. The variety ensures that each duck is unique. The weirdness gives them special details you don’t expect. No longer four copies, but four different versions.

How to write a good prompt

First think carefully about what you want to see. Do you have a clear picture in your head? Then describe all the details, including the small things. Be specific.

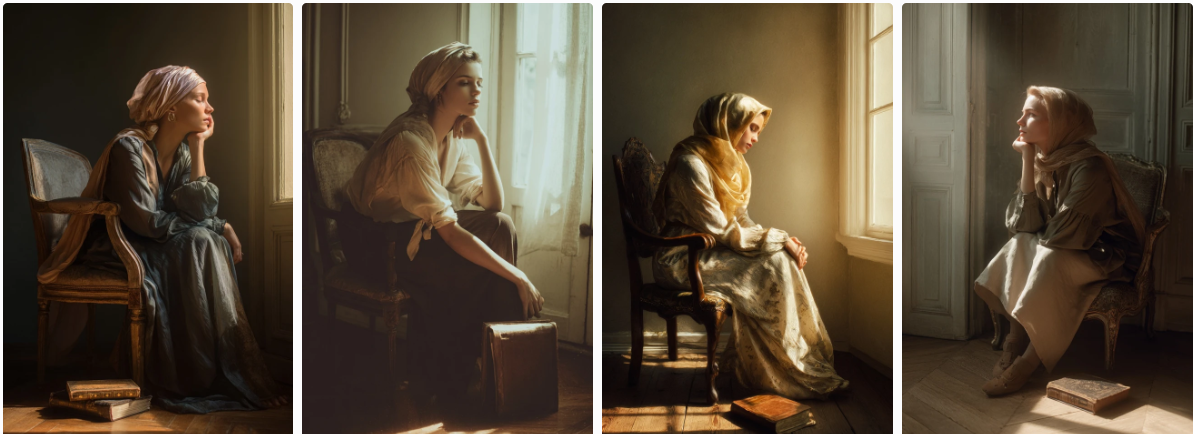
Example: you want a photo of a woman sitting on a chair looking outside, with a book next to her on the floor.

Here is my prompt: “Portrait of a woman in quiet contemplation, sitting gracefully on an antique chair near a sunlit window, wearing a flowing silk headscarf, an old leather-bound book rests on the hardwood floor nearby, soft golden hour lighting, dreamy atmospheric mood, European interior style, film photography aesthetic, natural pose, serene expression –ar 2:3 –style raw –v 7”

The result? Exactly what I wanted. The AI picked up on all the details.

Tip: An AI bot like Claude can help you word your prompt if you don’t quite know how to describe it.

The settings explained

Choosing image format

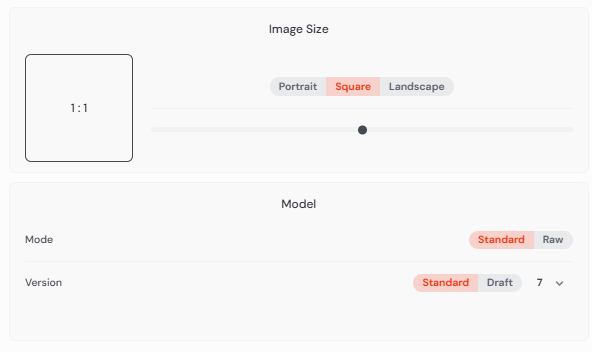
You can choose from three formats. Square is a square photo (think Instagram), portrait is upright (like a portrait photo), and landscape is horizontal (like a landscape photo). For the woman with the book, portrait or square works best.

Determining the mood of your image

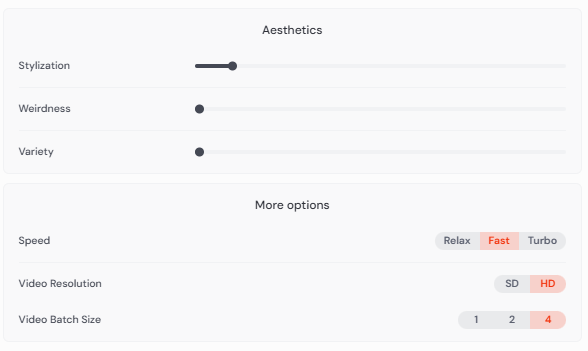
Stylization determines how artistic your image looks. The higher you set it, the more it looks like a painting, the lower the more like a real photo.

Weirdness adds unexpected elements to your photo. For beginners it’s wise to keep this low, otherwise you’ll get results that are too strange.

Variety ensures that every time you use the same prompt, you get different results. Useful if you want to experiment.

Which model do you use

Standard is the normal setting that most people use. Raw gives more natural, less processed results. For a realistic photo of a woman, raw is a good choice because it looks more real.

Speed and quality

Fast uses your credits but gives quick results. Relax is free but takes much longer. As a beginner it’s best to choose relax so you can experiment to see if you like Midjourney.

SD gives normal quality, HD gives better quality but costs more credits.

How many images at once

You can set how many variations Midjourney makes, from 1 to 4 pieces. With 4 you get four different versions of your prompt. This is useful because you can then choose which one you like best.

Practical tips for better results

Want a logo or a product photo? Use square format and low weirdness for a better result.

Want to experiment with art or creative concepts? Push that weirdness up to 1500 and see what happens.

For realistic photos of people, always use raw mode and keep stylization under 500.

Start today

Start with a simple prompt. See what you get. Adjust one setting and see what changes. That’s the best way to learn how Midjourney works and what your style becomes. The bot works best if you want to create something new, not a copy of existing photos.

The basic structure

A Midjourney prompt consists of several parts:

  • Main description: what you want to see
  • Parameters: settings that start with —
  • Weights: to give elements more or less emphasis

Weights and brackets

Double colon :: for weights

  • red cat::2 blue background::1 – the cat gets 2x more emphasis than the background
  • Higher numbers = more influence on the final result

Note: Regular brackets () or [] do nothing special in Midjourney. They’re just read as text. Some people think brackets give weight, but that’s not true for Midjourney (that does work in Stable Diffusion, but not here).

Important parameters

Aspect ratio

  • –ar 16:9 or –ar 3:2 – determines the proportions
  • –ar 1:1 for square

Style and quality

  • –style raw – more photographic, less artistic interpretation
  • –style expressive – more artistic freedom (v6 default)
  • –q 2 – higher quality (costs more)
  • –s 100 – stylization from 0-1000, lower = more literal

Version

  • –v 6.1 or –v 6 – choosing model version

Chaos and variation

  • –c 50 – chaos from 0-100, higher = more unpredictable results
  • –weird 500 – experimental, strange results

Repetition

  • –repeat 4 – generate multiple variations at once

Negative prompts

–no to exclude things:

  • beautiful landscape –no people, buildings

Multi-prompts

You can split prompts with :: (without a number):

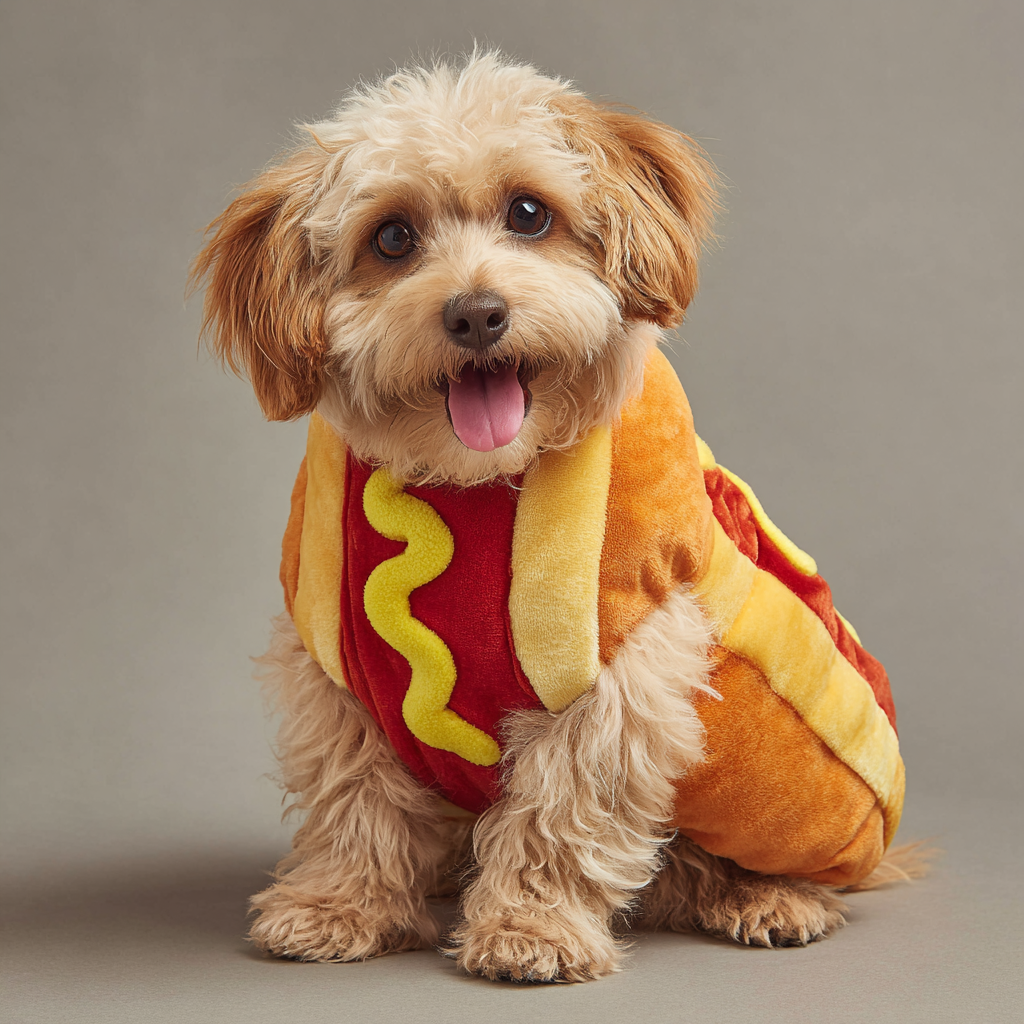
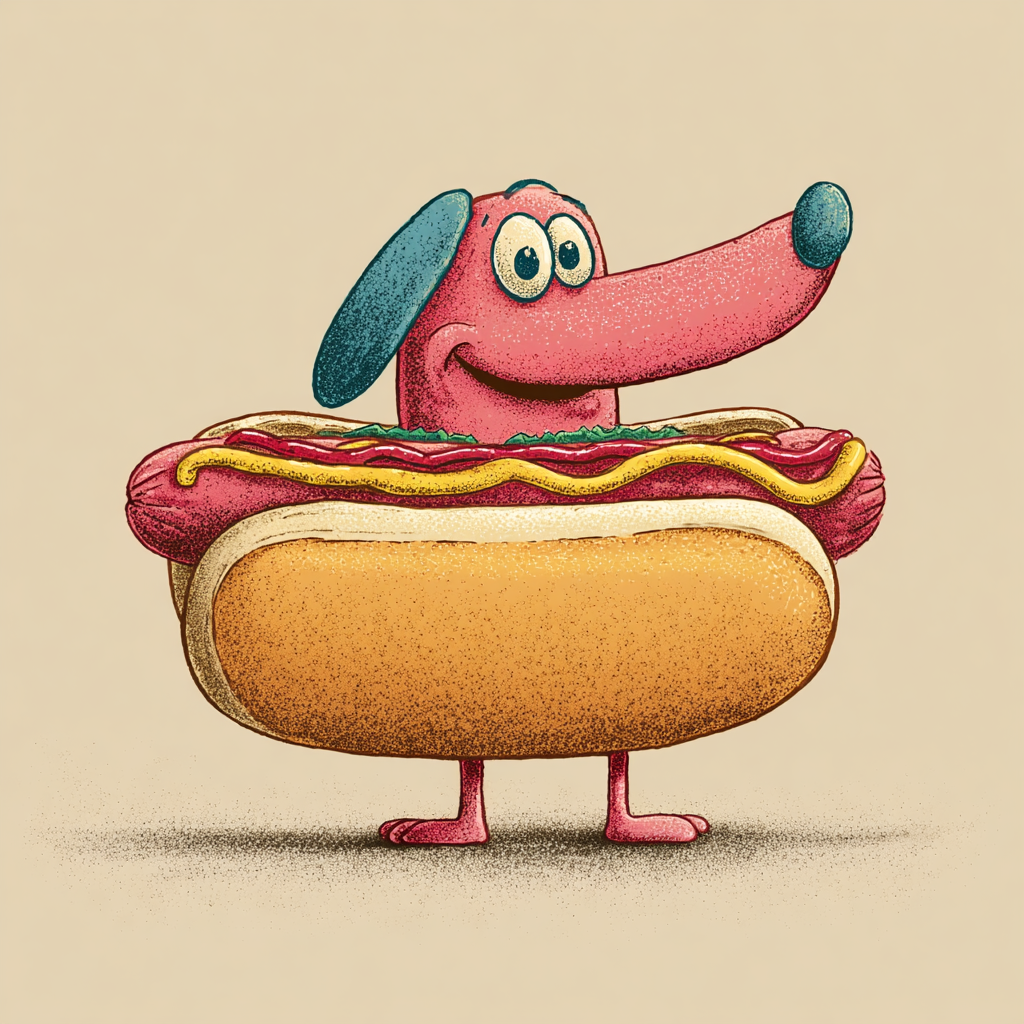
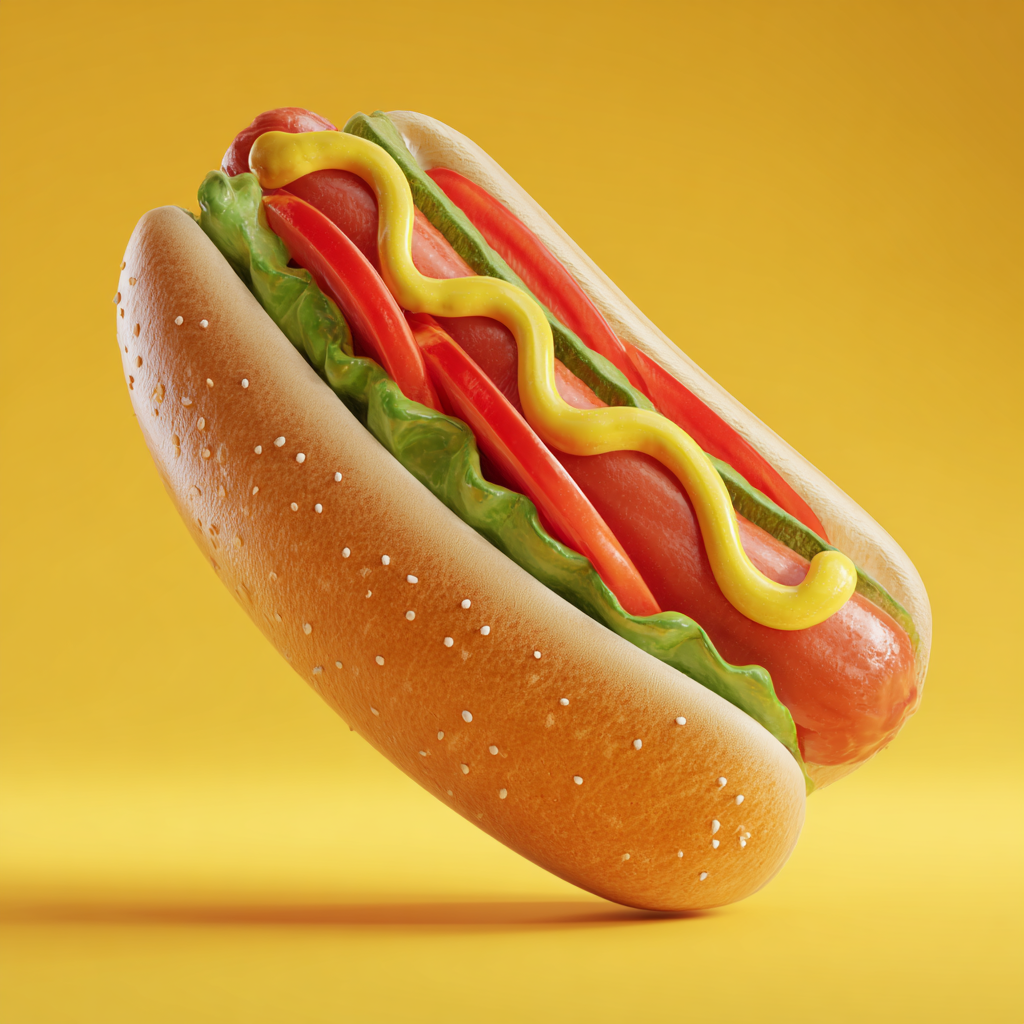
  • hot dog:: food – sees “hot dog” and “food” as separate concepts
  • hot dog food – might interpret a dog

Practical tips

Image prompts: You can add an image URL to the beginning of your prompt, followed by weights:

  • https://example.com/image.jpg portrait of a woman –iw 2
  • –iw determines the weight of the image prompt (default 1)

Permutations with {}:

  • {red, blue, green} car – creates 3 different prompts
  • house in {summer, winter} at {dawn, noon, dusk} – creates 6 combinations

That really comes in handy if you want to quickly test variations.

What’s NOT possible

  • You can’t specify exact pixel sizes, only ratios
  • Complex mathematical operations in the prompt itself
  • Perfectly rendering text (remains difficult)
  • Guaranteeing exact quantities (“three cats” sometimes gives 2 or 4 cats)

Want to know more about midjourney?

Contact us for more information!